A few weeks ago I was tasked with the assignment to create a few PowerBI reports for a customer. They have a dedicated server on which Microsoft SQL Server Analysis Services is installed. After creating the PowerBI reports locally (using a trick I described here), I needed to publish them to PowerBI online and use the Enterprise datagateway to connect.
Unfortunately I was greeted with this message when I tried to view the report:
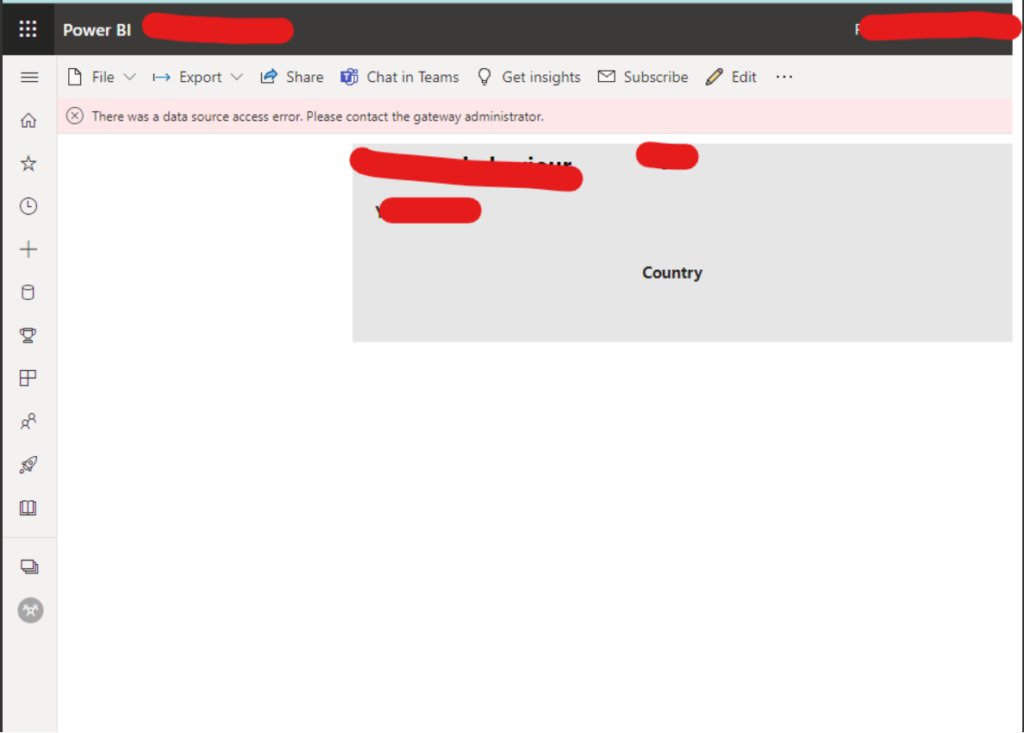
This error occurs because the logged in user is passed to the server and it tries to authenticate with it. This doesn’t work because I don’t have our Active Directory connected to the BI server.
Unfortunately couldn’t find a way around installing Active Directory. This doesn’t mean however that you officially have to attach your domain to the server. You are allowed to use a dummy local domain for this purpose. This article describes how to install Active Directory on your server and then configure the PowerBI gateway to use this freshly created domain.
Prerequisites
- You must be a system administrator on the server that Analysis services is installed at
Step 1 – Install Active Directory
I followed an excellent guide to install active directory on my server. The guide is for Windows Server 2019 but the steps are exactly the same for Windows Server 2016. You can find the tutorial HERE.
Step 2 – Create a new user which we will be using for our connection from PowerBI to analysis services
After installing Active Directory, restarting the server and logging back in you will need to create new user to use in PowerBI.
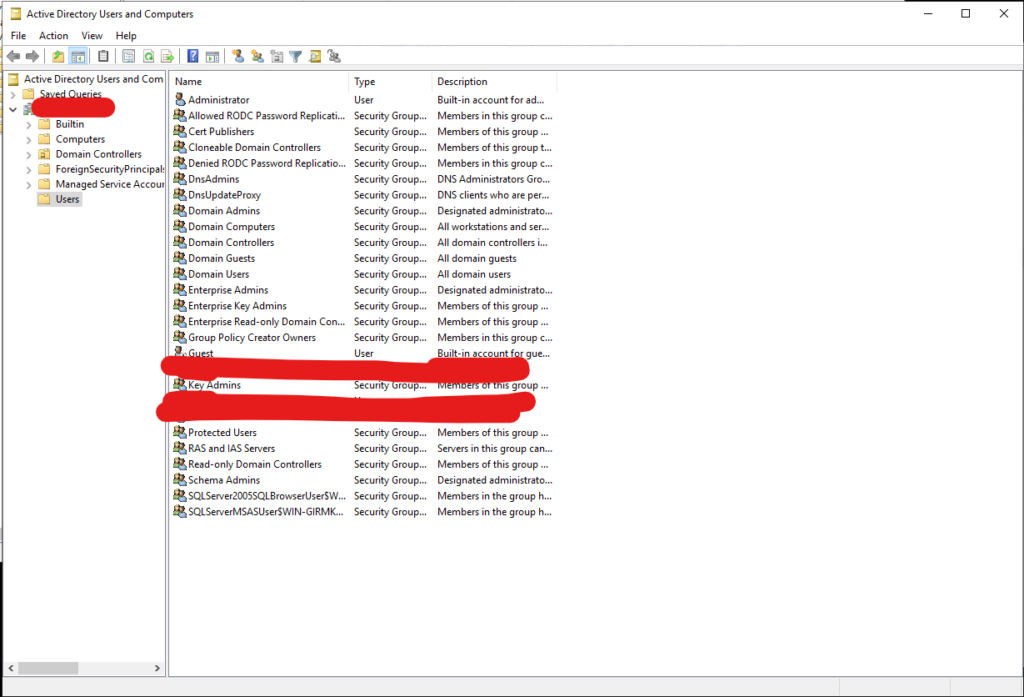
Press the start button and search for ‘Active Directory Users and Computer‘:

The following window should pop-up:
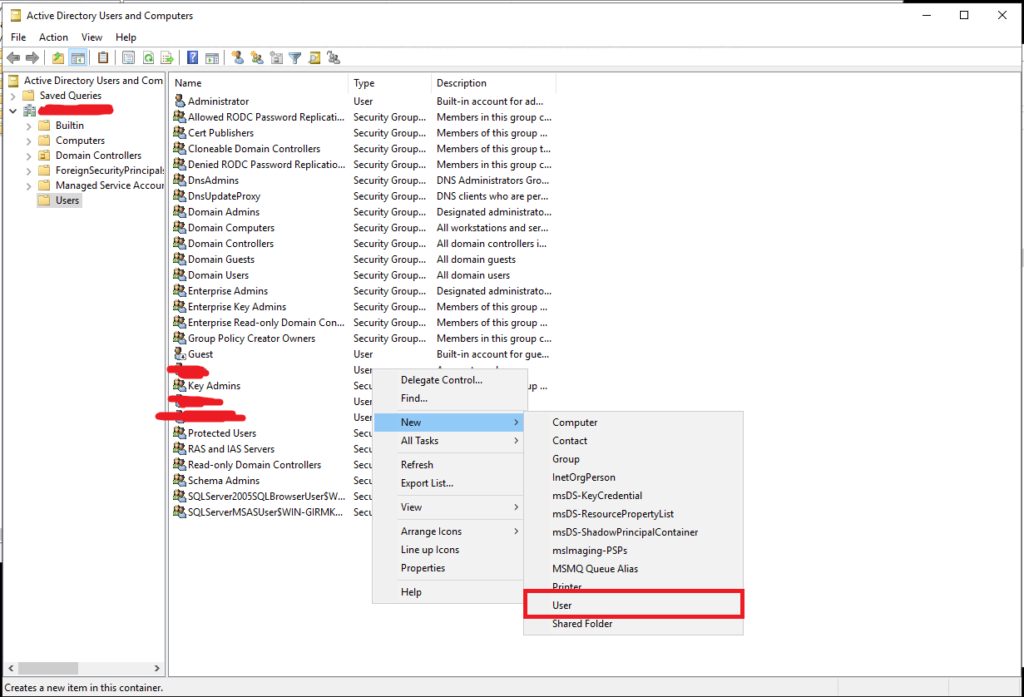
Now, right click somewhere below the userlist and press New -> User
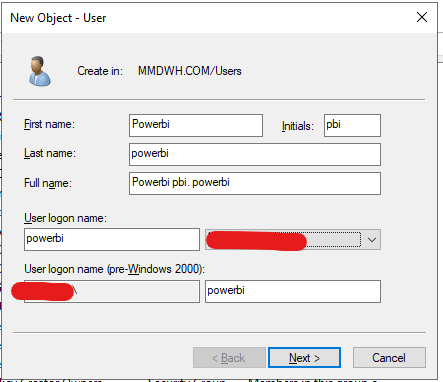
In the new object – user screen, give your user a proper name. I called mine powerbi. You should see something like this:
Press Next and add a password for the user. Make sure to uncheck all checkboxes!
Step 3 – add our new user to analyis services
Use SQL Server Management Studio to connect to your Analysis Services, and add our new user (powerbi) to a role with read permissions.
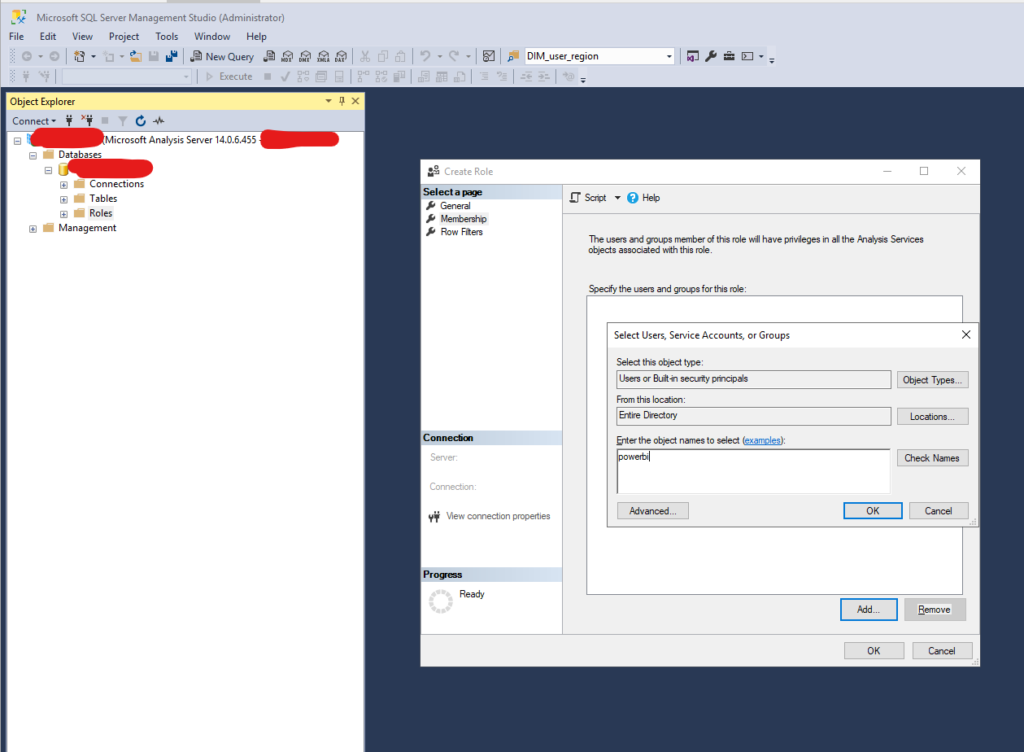
Press OK twice and you should see your DOMAIN\powerbi user added to the role!
Step 4 – Connect to the cube by using our new AD account
Login to your PowerBI environment and navigate to the gateway management page.
Click Add data source at the top of the page.
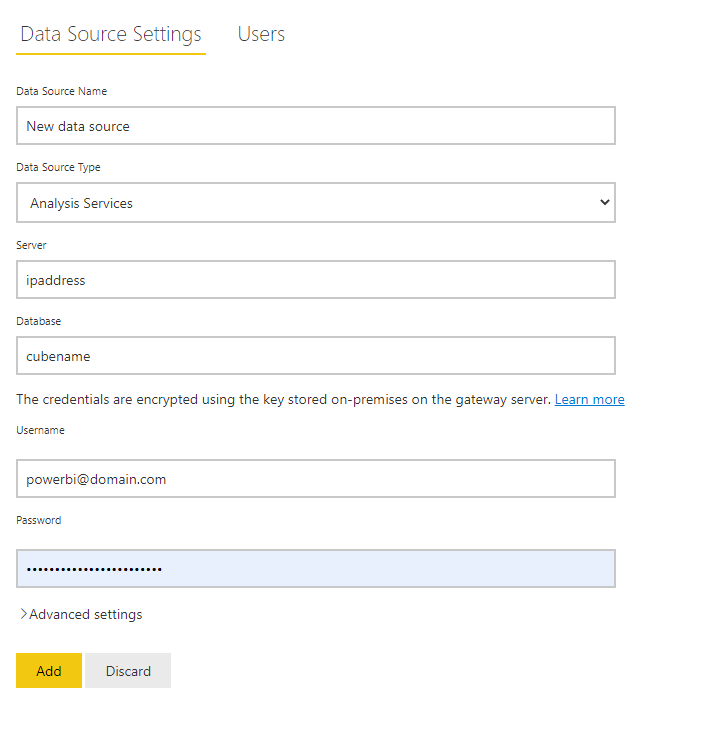
Give your connection a proper name, server analysis services as source type, add the IP, cube name and enter the credentials you created in step 2.
After entering all the details, press Add.
Step 5 – Remap your Microsoft user account to the Active Directory user account from step 2
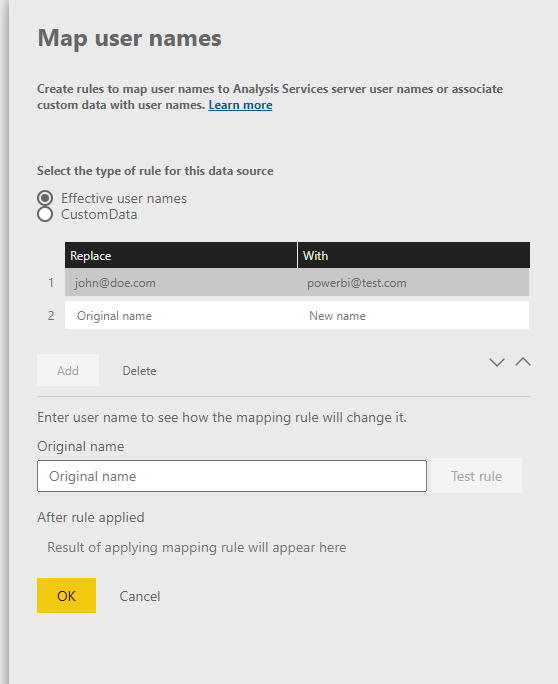
Navigate to the Users tab and then click on Map user names.
Lets say you are logged in with your Microsoft account john@doe.com. We need to map john@doe.com to the user that we created in step 2. Let’s say our domain is test.com and the user we created is powerbi. So we need to map john@doe.com to powerbi@test.com.
Add the following configuration:
That’s it, navigate to the report dataset, select the freshly created data source and you should now be open the report and view the data!
1 comment
Super!!!