
Lately I’ve been tasked to create a few PowerBI reports based on a tabular cube. Now, I like to develop my reports locally and then deploy them to PowerBI online. Unfortunately my computer is not in the same network as the Microsoft Tabular Cube. You are not able to connect to a tabular cube in Analysis services outside the network because you need a Windows account. Which you obviously don’t have because you are outside the network :). There isn’t any spot in which you can enter credentials when connecting to analysis services from PowerBI:
Fortunately there is a rather simple trick to circumvent this limitation! Here is what you do:
Requirements
- PowerBI desktop (https://powerbi.microsoft.com/)
Step 1 – locate your PowerBI desktop installation
This is most likely (if you haven’t changed it during installation) “C:\Program Files\Microsoft Power BI Desktop\bin\PBIDesktop.exe“.
Step 2 – Open CMD (on windows) by pressing the start button and typing ‘CMD’
Enter the following command and press enter (Make sure to replace COMPUTERNAME\USERNAME with the remote computer and username).
C:\Windows\System32\runas.exe /netonly /user:COMPUTERNAME\USERNAME "C:\Program Files\Microsoft Power BI Desktop\bin\PBIDesktop.exe"
You will be prompted to enter a password for COMPUTERNAME\USERNAME. Add the password and press enter. Now PowerBI should open.
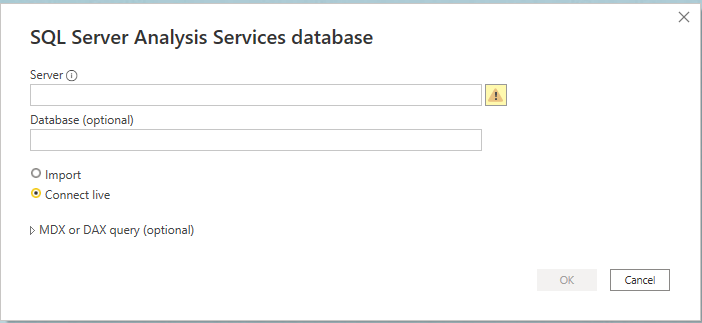
Step 3 – Connect to Microsoft Analysis Services from PowerBI
The connection should now work without problems. The command above tells Windows to start PowerBI as the specified user. Then, when you connect to Analysis Services in PowerBI it uses the entered details for the authentication. By the way, this also works great for other programs that use Windows Authentication.
Step 4 – (Optional) create a shortcut for quick access
In Windows, right click on your desktop (or anywhere for that matter), click new and then shortcut. Add the command from step2 in the ‘location’ input. Provide a name for the shortcut and there you go, a ready to use quick-start. You will be prompted to enter the password everytime you use the shortcut, but if that’s the only downside :).